Observability for IBM watsonx with Opik
watsonx is a next generation enterprise studio for AI builders to train, validate, tune and deploy AI models.
Account Setup
Section titled “Account Setup”Comet provides a hosted version of the Opik platform, simply create an account and grab your API Key.
You can also run the Opik platform locally, see the installation guide for more information.
Getting Started
Section titled “Getting Started”Installation
Section titled “Installation”To start tracking your watsonx LLM calls, you can use our LiteLLM integration. You'll need to have both the opik and litellm packages installed. You can install them using pip:
pip install opik litellmConfiguring Opik
Section titled “Configuring Opik”Configure the Opik Python SDK for your deployment type. See the Python SDK Configuration guide for detailed instructions on:
- CLI configuration:
opik configure - Code configuration:
opik.configure() - Self-hosted vs Cloud vs Enterprise setup
- Configuration files and environment variables
Configuring watsonx
Section titled “Configuring watsonx”In order to configure watsonx, you will need to have:
- The endpoint URL: Documentation for this parameter can be found here
- Watsonx API Key: Documentation for this parameter can be found here
- Watsonx Token: Documentation for this parameter can be found here
- (Optional) Watsonx Project ID: Can be found in the Manage section of your project.
Once you have these, you can set them as environment variables:
import os

os.environ["WATSONX_URL"] = ""  # (required) Base URL of your WatsonX instance
# (required) either one of the following:
os.environ["WATSONX_API_KEY"] = ""  # IBM cloud API key
os.environ["WATSONX_TOKEN"] = ""  # IAM auth token
# optional - can also be passed as params to completion() or embedding()
# os.environ["WATSONX_PROJECT_ID"] = "" # Project ID of your WatsonX instance
# os.environ["WATSONX_DEPLOYMENT_SPACE_ID"] = "" # ID of your deployment space to use deployed models
Logging LLM calls
Section titled “Logging LLM calls”In order to log the LLM calls to Opik, you will need to create the OpikLogger callback. Once the OpikLogger callback is created and added to LiteLLM, you can make calls to LiteLLM as you normally would:
from litellm.integrations.opik.opik import OpikLogger
import litellm
import os

os.environ["OPIK_PROJECT_NAME"] = "watsonx-integration-demo"

opik_logger = OpikLogger()
litellm.callbacks = [opik_logger]

prompt = """
Write a short two sentence story about Opik.
"""

response = litellm.completion(
    model="watsonx/ibm/granite-13b-chat-v2",
    messages=[{"role": "user", "content": prompt}]
)

print(response.choices[0].message.content)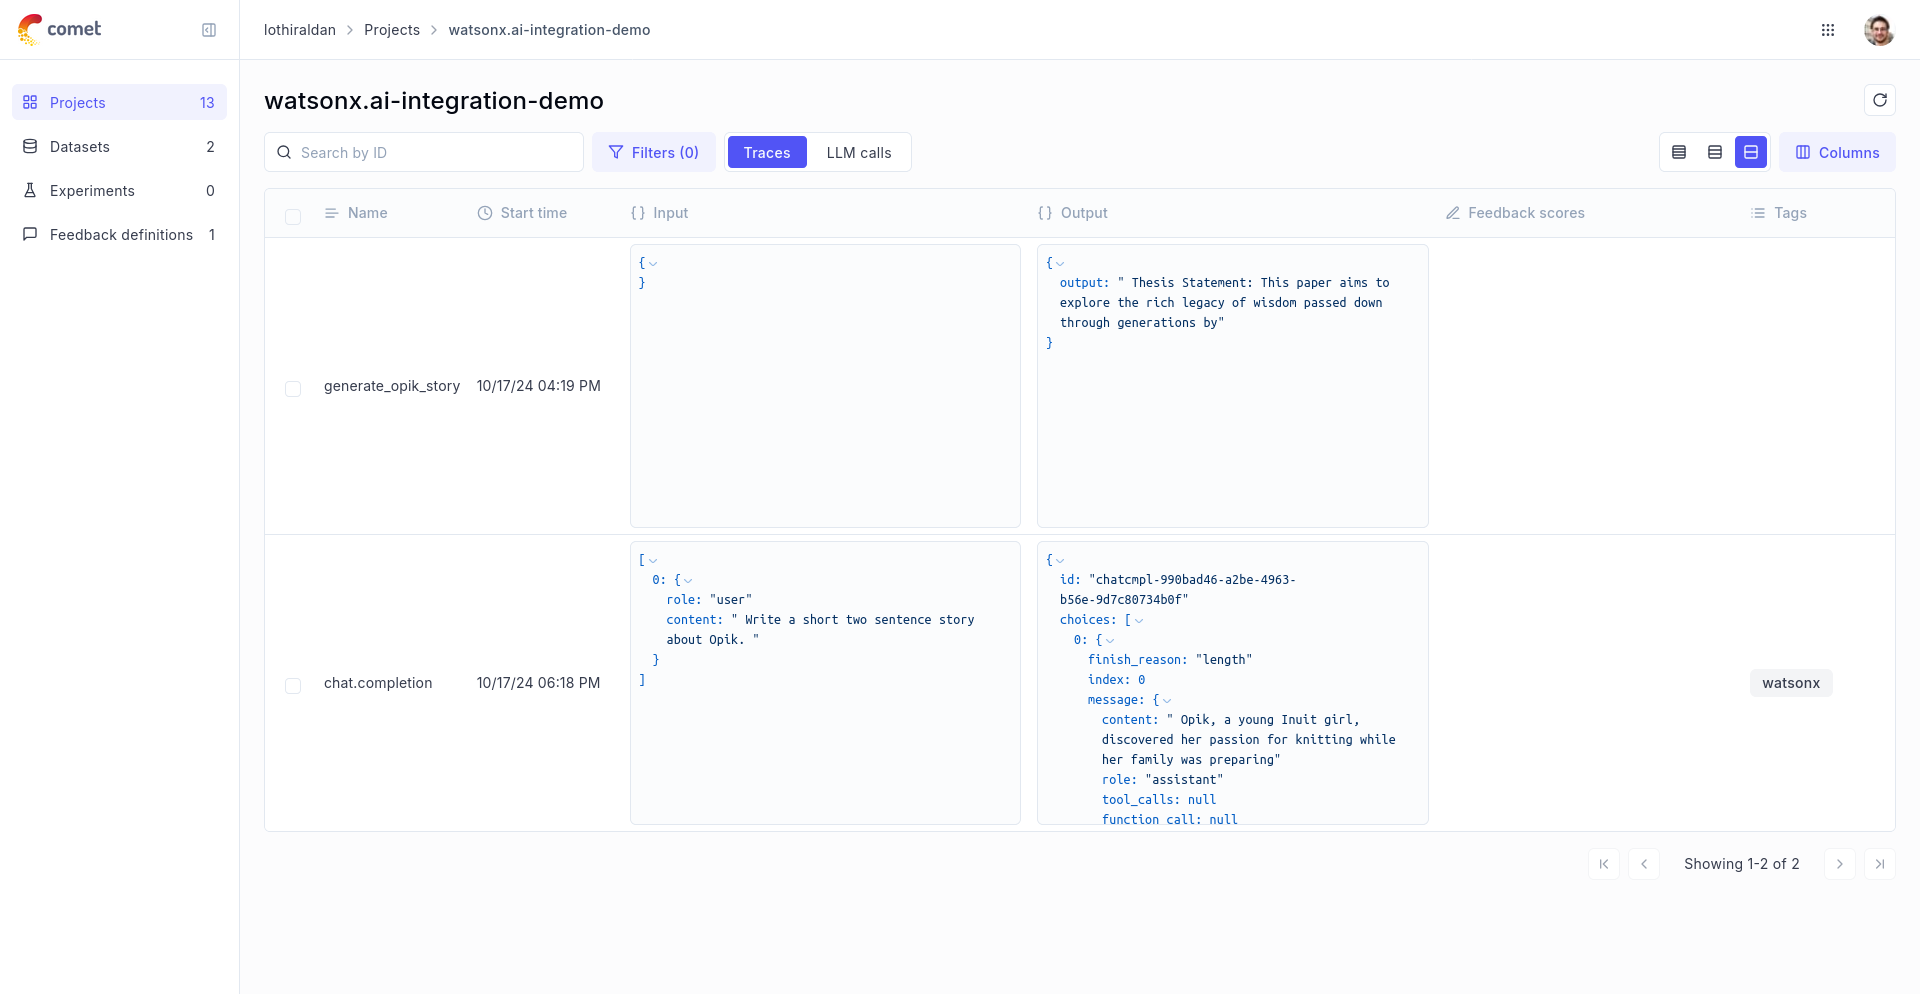
Advanced Usage
Section titled “Advanced Usage”Using with the @track decorator
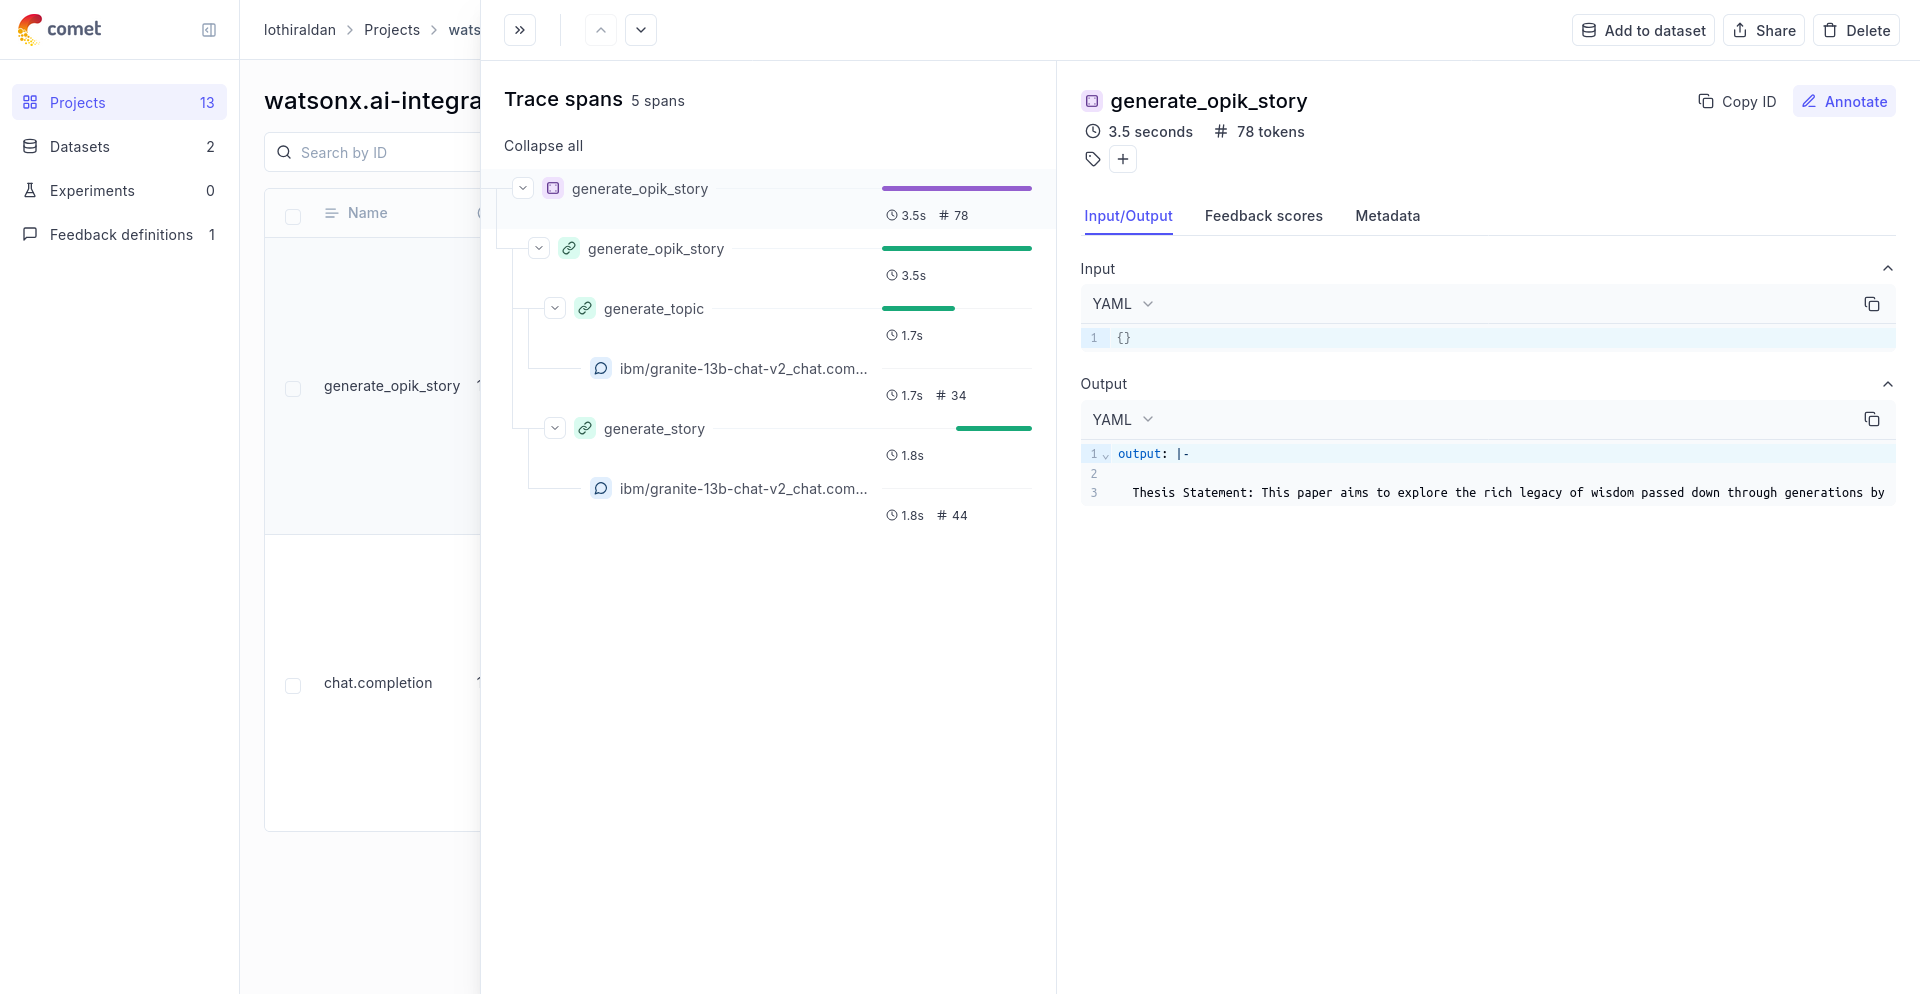
Section titled “Using with the @track decorator”If you have multiple steps in your LLM pipeline, you can use the @track decorator to log the traces for each step. If WatsonX is called within one of these steps, the LLM call will be associated with that corresponding step:
from opik import track
from opik.opik_context import get_current_span_data
import litellm

@track
def generate_story(prompt):
    response = litellm.completion(
        model="watsonx/ibm/granite-13b-chat-v2",
        messages=[{"role": "user", "content": prompt}],
        metadata={
            "opik": {
                "current_span_data": get_current_span_data(),
            },
        },
    )
    return response.choices[0].message.content

@track
def generate_topic():
    prompt = "Generate a topic for a story about Opik."
    response = litellm.completion(
        model="watsonx/ibm/granite-13b-chat-v2",
        messages=[{"role": "user", "content": prompt}],
        metadata={
            "opik": {
                "current_span_data": get_current_span_data(),
            },
        },
    )
    return response.choices[0].message.content

@track
def generate_opik_story():
    topic = generate_topic()
    story = generate_story(topic)
    return story

# Execute the multi-step pipeline
generate_opik_story()